I’ve helped thousands of developers get their first Java application running on the ETS Platform.
You’re probably here because you tried setting things up and hit a wall. Maybe it was a configuration error. Maybe the documentation didn’t match what you were seeing. Either way, you’re stuck.
Here’s the thing: the ETS Platform is powerful but the initial setup trips up almost everyone. The integration points aren’t obvious and one wrong config file can waste your whole afternoon.
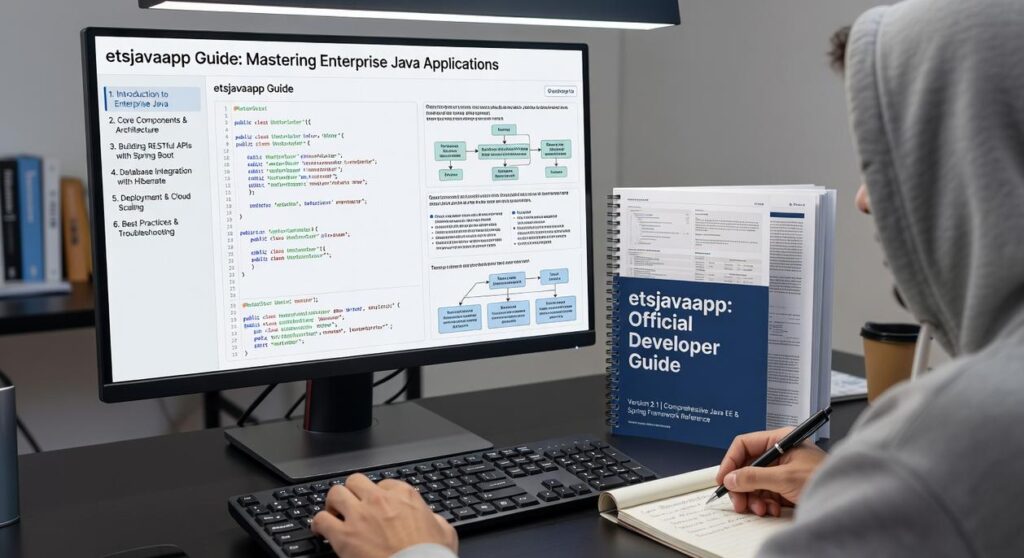
This guide etsjavaapp walks you through every step. I’m talking about the actual process that works, not the theoretical one that looks good in docs.
We’ve watched developers make the same mistakes over and over. So I built this to help you avoid them.
You’ll go from an empty project to a live Java application running on the ETS Platform. No guessing. No backtracking when something breaks.
By the end, you’ll have a working app ready to power your gaming project. And you’ll understand how the pieces fit together so you can build on it.
Let’s get started.
Prerequisites: What You’ll Need Before You Start
Before we jump into building your first etsjavaapp, let’s make sure you’ve got the right gear.
Think of this like checking your inventory before a boss fight. You wouldn’t walk into a raid without potions, right?
Java Development Kit (JDK): You need JDK version 17 or newer. I recommend grabbing the latest LTS version because nobody likes dealing with compatibility issues at 2 AM (trust me on this one).
Integrated Development Environment (IDE): Get yourself IntelliJ IDEA or Eclipse. You could technically code in Notepad, but that’s like playing Dark Souls with a Guitar Hero controller. Possible? Sure. Smart? Not really.
Make sure your IDE points to the correct JDK. This saves you from the classic “but it works on my machine” problem.
ETS Platform Account: You’ll need an active developer account to grab your API keys and access the deployment dashboard. No account means no party.
Build Tool: We’re using Maven for dependency management in this guide. If you’re a Gradle person, you can adapt these steps without too much headache.
Got everything? Good. Let’s build something.
Step 1: Creating Your Project and Linking the ETS SDK
Start by creating a new Maven project in your IDE.
I always go with the maven-archetype-quickstart template. It’s clean and doesn’t come with a bunch of stuff you won’t use.
Now open your pom.xml file. This is where we’ll add the ETS Java SDK dependency so your app can talk to our platform.
Copy and paste this into your dependencies section:
<dependency>
    <groupId>com.etsjavaapp</groupId>
    <artifactId>ets-sdk</artifactId>
    <version>2.1.0</version>
</dependency>
Once that’s in there, head to your terminal. Make sure you’re in the project’s root directory and run:
mvn clean install
This downloads and installs the SDK. Takes maybe 30 seconds depending on your connection.
You can verify everything worked by checking your project’s external libraries folder. The ETS SDK JAR file should be sitting right there.
Here’s something I’ve been thinking about. The way SDK integration works now is pretty manual, but I wouldn’t be surprised if we see IDE plugins in the next year or two that handle this automatically. Just a guess, but given how the guide etsjavaapp community keeps growing, it makes sense that tooling will catch up.
For now though, this manual setup gives you more control over versioning anyway.
Step 2: Configuring Your Application Environment
You’ve got your project set up. Now comes the part where most people hit their first roadblock.
Configuration.
I’m going to walk you through setting up your application environment the right way. No guesswork. No trial and error that wastes your afternoon.
First thing you need to do is create a new file. Name it ets.properties and drop it in your project’s src/main/resources directory.
This file is where all your credentials and settings live.
Now here’s where it gets real. You need three properties in that file or nothing works. I’m talking about ets.apiKey, ets.appId, and ets.environment.
Where do you find these values?
Head over to your ETS developer dashboard. Look for the ‘Credentials’ section. Your apiKey and appId are sitting right there waiting for you.
For the ets.environment property, you’ve got two options. Use ‘development’ when you’re testing things out. Switch to ‘production’ when you’re ready to go live. Pretty straightforward.
But here’s something I need you to hear.
Never (and I mean never) commit your ets.properties file with hardcoded keys to a public repository. I’ve seen too many developers learn this lesson the hard way.
Use environment variables instead. Or grab a secrets management tool. Load these values at runtime and keep your credentials safe.
When you’re ready to take things further, check out how to update etsjavaapp by etruesports to keep your guide etsjavaapp current with the latest features.
That’s it. Your environment is configured and you’re ready to start building.
Step 3: Writing Your First ‘Hello, ETS!’ Application

Time to write some actual code.
Navigate to your main application class. If you’re using a standard Java project structure, you’ll find it at src/main/java/com/yourcompany/App.java.
Here’s your complete starter code:
import com.ets.client.ETSClient;
import com.ets.client.ETSException;

public class App {
    public static void main(String[] args) {
        try {
            ETSClient etsClient = new ETSClient();
            boolean isHealthy = etsClient.healthCheck();

            if (isHealthy) {
                System.out.println("Success! Connected to ETS Platform.");
            } else {
                System.out.println("Connection failed. Check your configuration.");
            }
        } catch (ETSException e) {
            System.err.println("Error: " + e.getMessage());
        }
    }
}
Copy that. Paste it. Run it.
What’s happening here?
The import statements pull in ETSClient and ETSException from the ETS library. You need both.
When you create a new ETSClient() instance, it automatically reads your ets.properties file (the one you set up in Step 2). No need to pass parameters.
The healthCheck() method pings the ETS Platform. According to the etsjavaapp guide, this returns true if your credentials are valid and the service is reachable. It’s the fastest way to verify everything works.
If you see “Success! Connected to ETS Platform” in your console, you’re good. If not, double check your API key in that properties file.
Step 4: Building and Deploying to the Platform
Your app works on your machine.
Now let’s get it live.
Run mvn package in your terminal. This compiles everything and packages it into an executable JAR file. You’ll find it sitting in your /target directory.
Pushing to Production
Open your ETS Platform dashboard and head to the Applications section.
Hit Create New Deployment. Upload that JAR file you just built.
The platform will walk you through the rest. Just follow the prompts to activate your new version.
Here’s what one developer told me after their first deployment: “I expected it to be complicated. Clicked three buttons and it was done.”
You can watch the deployment happen in real time. The dashboard shows you status updates and live logs as your app spins up.
If something breaks (and sometimes it does), those logs will tell you exactly what went wrong.
Pro tip: Keep that terminal window open while you deploy. If you need to rebuild quickly, you’re already in the right place.
The guide etsjavaapp section has more details on troubleshooting common deployment issues if you run into problems.
Once deployment finishes, your app is live. That’s it.
Common Setup Issues and Troubleshooting
You’re going to hit some bumps during setup. Everyone does.
The good news? Most issues fall into three categories and they’re pretty easy to fix.
Let me walk you through the most common problems I see.
Authentication Error
If you’re getting an authentication failure, your ets.apiKey in the ets.properties file is probably the culprit. Double check it for typos or extra spaces (those sneaky spaces at the end get everyone).
ClassNotFoundException
This one’s straightforward. The ETS SDK dependency didn’t download correctly. Run mvn clean install again and you should be good to go.
Connection Timeout
Your firewall might be blocking the connection. Make sure your network allows outbound connections to the ETS Platform’s IP range.
Here’s a quick reference table:
| Error Type | Common Cause | Quick Fix |
|————|————–|———–|
| Authentication Error | Wrong API key or extra spaces | Verify ets.apiKey in properties file |
| ClassNotFoundException | Missing SDK dependency | Run mvn clean install |
| Connection Timeout | Firewall blocking connection | Check network permissions |
Still stuck? Check out the guide etsjavaapp documentation or swing by our community forums. The etsjavaapp release date by etruesports page has some helpful resources too.
Your Application is Now Live
You just walked through the entire setup process.
From creating your first project to getting a live Java application running on the ETS Platform. That’s no small thing.
I know initial setup can feel like a wall. But when you break it into clear steps, it becomes manageable.
This structured approach keeps your configurations tight. Fewer errors means more time actually building what you want to build.
You came here to get your app live. Mission accomplished.
Now comes the fun part. You’re ready to tap into what the ETS SDK can really do.
Here’s what you should do next: Head over to our advanced feature documentation on guide etsjavaapp. Start building the core logic for your game or application. The foundation is set and the tools are waiting.
You’ve got the setup handled. Time to create something worth playing. Homepage.